One excellent method to make sure your car audio system gets adequate power without depleting your primary battery is to install a second battery kit. By keeping the voltage constant, a second battery helps avoid headlight dimming and electrical problems brought on by powerful amplifiers and subwoofers.
This is a detailed tutorial on how to install a second battery kit for your vehicle’s audio system.
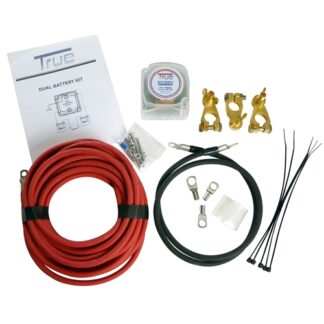
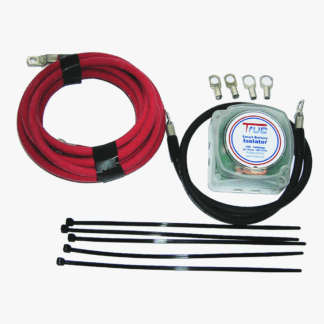
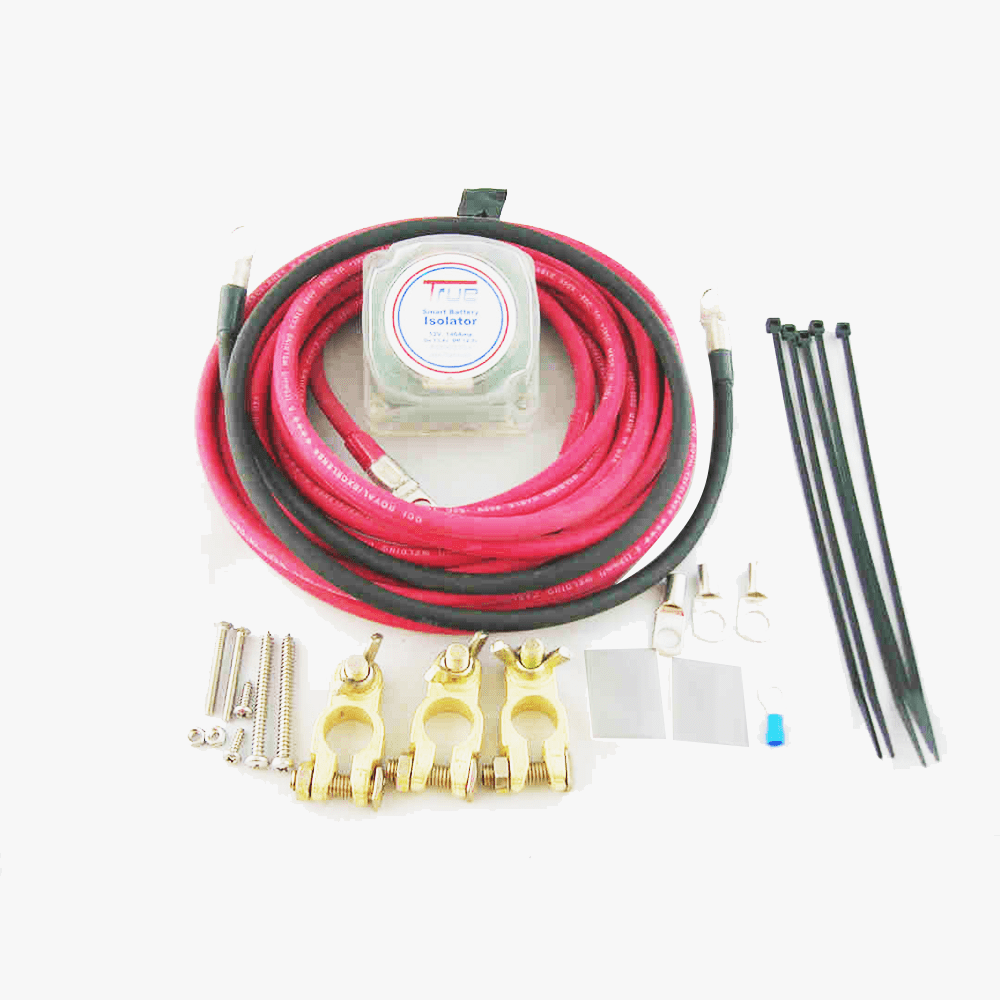
 Make sure you have the necessary components before beginning: a fuse holders, fuses, battery terminals, and mounting hardware. A battery box or tray can also be required to hold the second battery in place. The following are necessity for installation of second battery kit for your car audio.
- Second car battery. Use deep cycle recommended or Lithium car battery
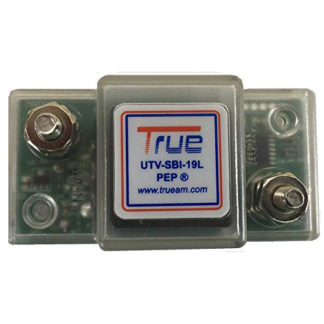
- Heavy-duty Smart Battery isolator or relay
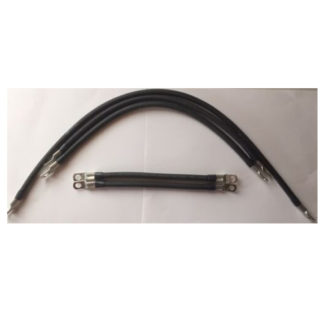
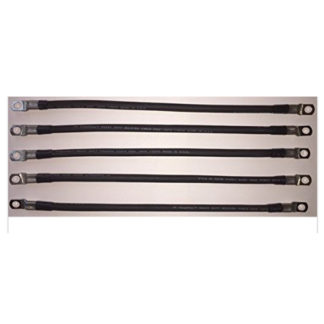
- Battery terminals and wiring kit
- Fuse holder and fuses
- Drill (if mounting required)
- Wrenches and screwdrivers
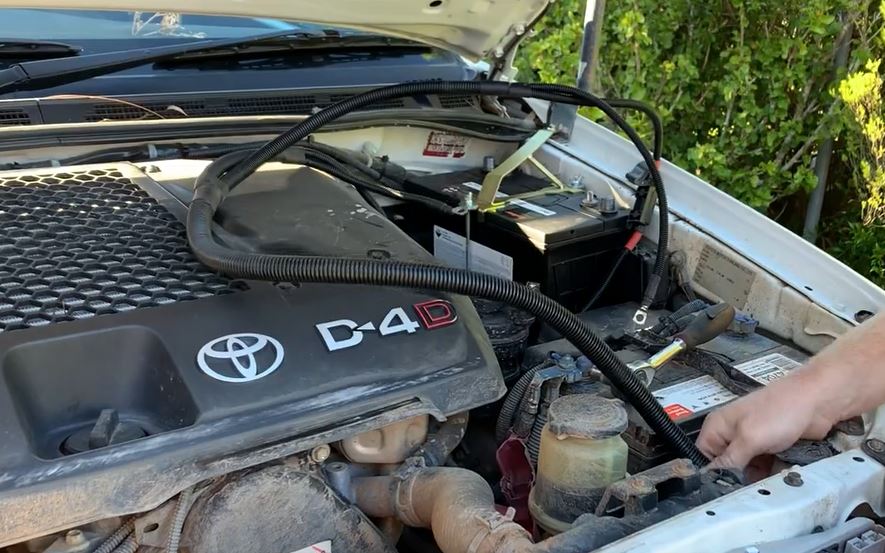
Step 1: Choose a Battery Location:
The ideal location for your second battery depends on your car’s model and brand. It’s best to position it close to the primary battery, but available space will ultimately determine the placement. You can mount it in the trunk or under the hood, ensuring it is secure and well-ventilated to prevent overheating. If installing it in the trunk, use a battery box for added safety.
Step 2: Install the Smart Battery Isolator or Relay
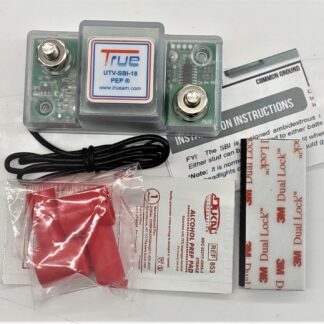
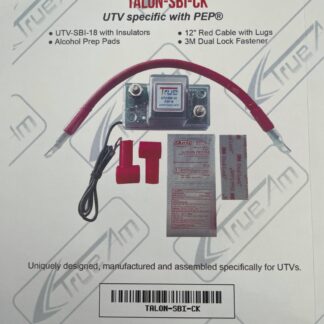
A True® battery isolator prevents the second battery from draining the main battery when the engine is off. Connect the isolator’s input to the positive terminal of the main battery. The output goes to the positive terminal of the second battery.
Step 3: Connect the Ground Wire
Attach a thick ground wire from the second battery’s negative terminal to a solid grounding point on the chassis. Scrape off any paint to ensure a solid connection.

Step 4: Wire the Second Battery Kit to the Audio System
Wiring a second battery kit to your audio system involves several key steps to ensure proper installation and functionality.
First, disconnect the negative terminal of your primary battery to prevent any electrical shorts. Mount the second battery in a secure location, preferably close to the audio system to minimize cable length. Connect the positive terminal of the second battery to the positive terminal of the primary battery using a heavy-gauge power cable, ensuring the cable is properly fused near the primary battery.
Next, connect the negative terminal of the second battery to the vehicle’s chassis or a designated grounding point. Run a power cable from the second battery’s positive terminal to the audio system’s amplifier, ensuring it is also fused near the battery.
Finally, reconnect the negative terminal of the primary battery and test the system to ensure everything is functioning correctly. Always follow the manufacturer’s instructions regarding installation of second battery wiring kit for car audio.
Step 5: Fuse Everything Properly
Install fuses near both batteries to protect against electrical shorts. Match fuse ratings with your amplifier’s power requirements.
How a Fuse Helps Ensure Safety in a Secondary Battery Kit Installation
A fuse acts as a safety device by interrupting the electrical circuit if excessive current flows, preventing overheating, fires, or damage to the audio system or battery. Installed near the battery and along power cables, it safeguards against short circuits or overloads, ensuring a secure and reliable secondary battery installation.
Step 6: Test the System
Turn on your car and test the audio system. Check voltage levels using a multimeter. If everything is connected properly, your system should run without voltage drops.
Final Tips:
- Use 4 AWG or thicker wires for high-power systems.
- Charge both batteries fully before installation.
- Regularly check battery health and wiring connections.
By following these steps, you’ll have a stable, powerful car audio system without risking a dead main battery. Enjoy your boosted sound system with your!
Here is a video about